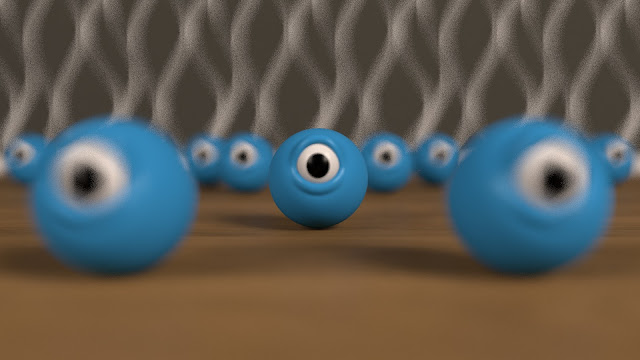
Tool Kit 2: Depth of Field


Tool Kit 2: Depth of Field

This tutorial came at the perfect time for me as I was already messing around with depth of field in test scenes trying to understand it. This tutorial made it a lot clearer how to use it and how powerful it is as a system in Arnold. There is a lot of functionality in the Arnold camera and as such there is a lot of renders below to show each of the settings. First is the Filter map a system that works as a sort of vignette to the camera. A well as a load of setting to do with the shape of the blur including aperture blades as well as aperture aspect ratio. These can creating interesting effects if used in a stylistic manner. The main settings in the tutorial where Focus distance and Aperture size as there control how much of the scene is in focus and where in the z axes this area sits.

Filter Map.


Depth of Field 1.


Aperture Blades : 3.


Depth of Field 2.


Comments

Popular posts from this blog

Lion King : Archetypes

  Film Review: Lion King Hero: Simba is the hero of our story and fits the archetype of a hero so well when thinking about the hero's journey. Shadow: Scar is the shadow in the lion king sowing ill will and deception in the start of the movie to set up the events of the film. Herald:  Rafiki calls Simba to action and shows him a way to get in contact with his father. He helps the hero find there way and shows Simba the path when he's lost. The Threshold Guardian: I think the threshold guardians are the hyenas in the lion king. i think this is because they are present and the threat when Simba and Nala go into the darklands, crossing the threshold into defiance against Mufasa. Trickster: Timon as he plan's to use Simba for safety as he is a lion and can scare off other predators.  Mentor/father: Mufasa if Simba's father and mentor, a father figure who is teaching him to be king even after his death at the start of the movie. Allies: Timon, Pumba and Nala are the main all...

Maya Texturing class: Substance 3

  Maya Texturing class: Substance 3 In this class we went through the process of texturing this dumpster, recapping the use of fill layers and masks in Substance before being introduced to a few new tools that helped create the look of the textures. first we used the brush to paint in height information using alpha's and different brushes to create dents and parts of pressed metal. We then added anchor points to these layers allowing them to be used is functions that use the curve texture maps generated by the software. This means on the stamps we can use generators like edge ware or light as if it was modelled geometry. We then used the projection tool to project textures onto the dumpster and push onto the paint layer, this makes it easy to add images onto the texture maps for an object. This is seen with the spray can an the Graphic Graffiti on the Dumpster. Maya Render AO Pass Final Composite